Reolink 510A and 811A security cameras and all things related
This post is going to be a bit of longer one covering off a review of two cameras and then how it all comes together … So, the first two cameras I played with were WIFI solar. Both cameras came pretty close to doing what I needed, which was pretty basic. The Dekco D8L missed the mark, just barely by not having anything other than push notifications, no email, no FTP. The Reolink Argus 3 for some bizarre reason did not have WIFI antennas (all the other Reolink WIFIs do), and the WIFI was a bit up and down.
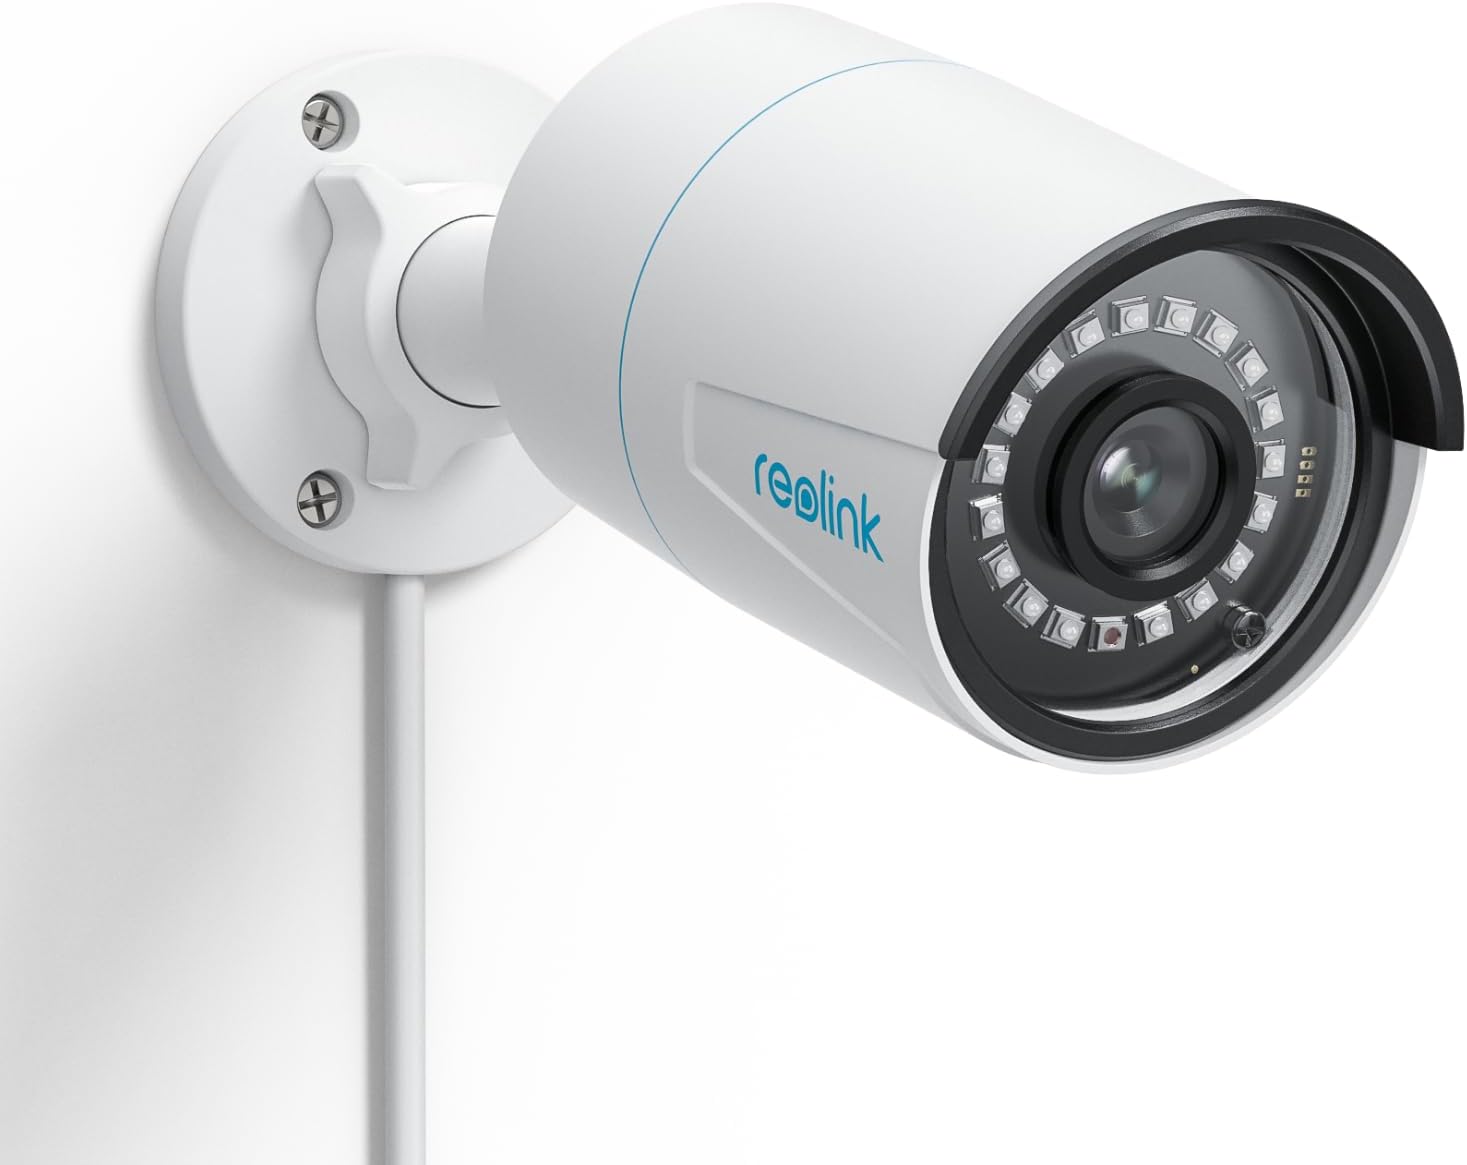
So now we come to a different category of cameras, powered … Some of them like the Dekco D4L use WIFI and have a power adapter, other rely on what’s called POE, or Power Over Ethernet. What POE does is embed a DC power in the same ethernet signal meaning you run one wire to the camera and you get ethernet and power. So I started looking around to see which might meet my needs. Setting your criteria can help save time, my criteria was … fluid? So do you want a light on the camera, what kind of connectivity do you want etc. I first bought the 510, and I have to say, of the 510, 811A, and 1212A the 510A is the pick of the litter. It mis-detects the least, is cheap, and overall just works. If it had a light I would have probably stayed with it. The 5Mp is kind of limited but usable. Night vision is ok, and smart detection works ok as well (more on smart detection in a bit). The 1212 was a disaster with constant mis-detections.
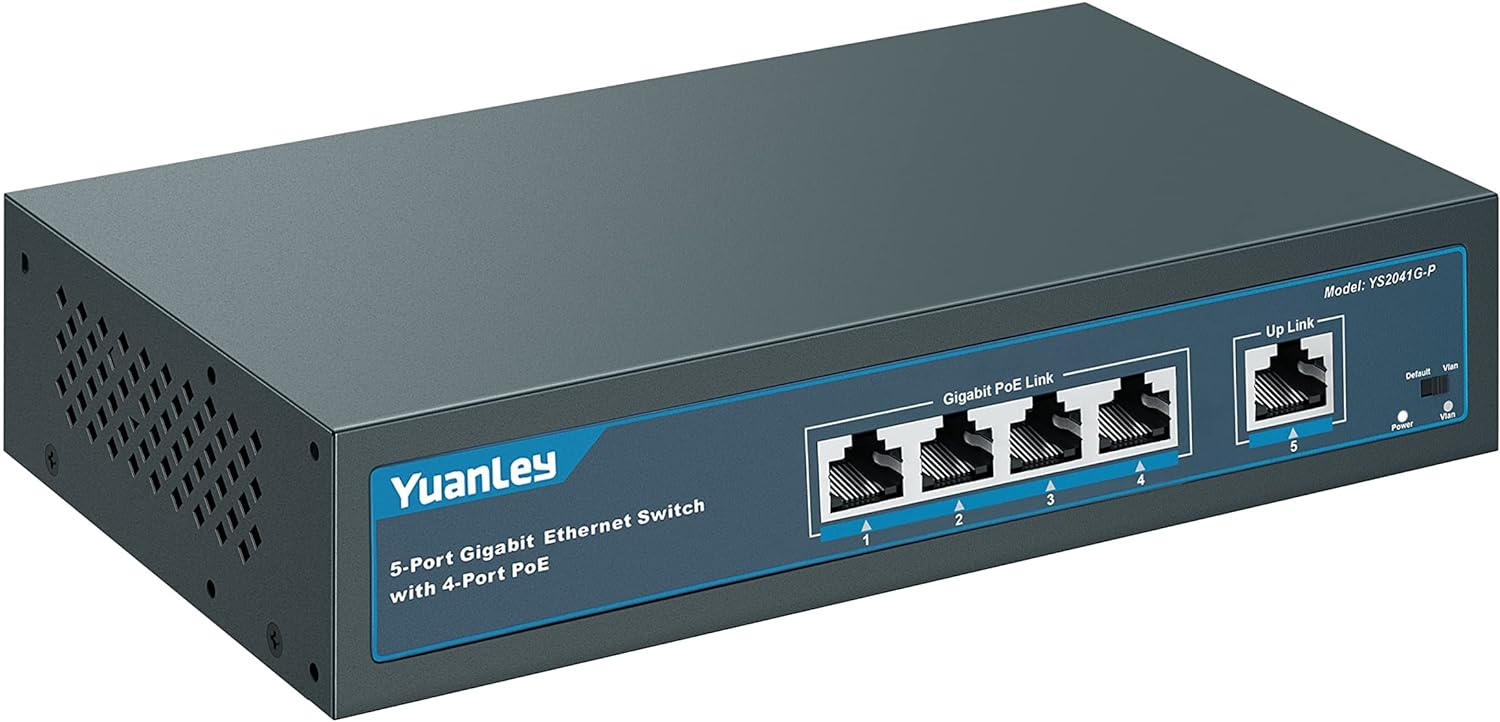
Ok, so POE … so you need to buy a switch that supports POE. I bought a YuanLey 5 Port Gigabit PoE Switch off Amazon for $39.99. It can handle up to 30W per port, to a max of 78W (no idea how you get that math). It’s well designed, solid, the power cable is a standard AC power adapter instead of a brick, has a dedicated uplink port and is VERY thrifty on power. The 510, 811 and the poe switch consumes a mere 10W, although that jumps to 15 when the light on the 811 turns on. If you plug the POE switch into a UPS, which I did, your cameras live on even with a power hit until the bitter end …
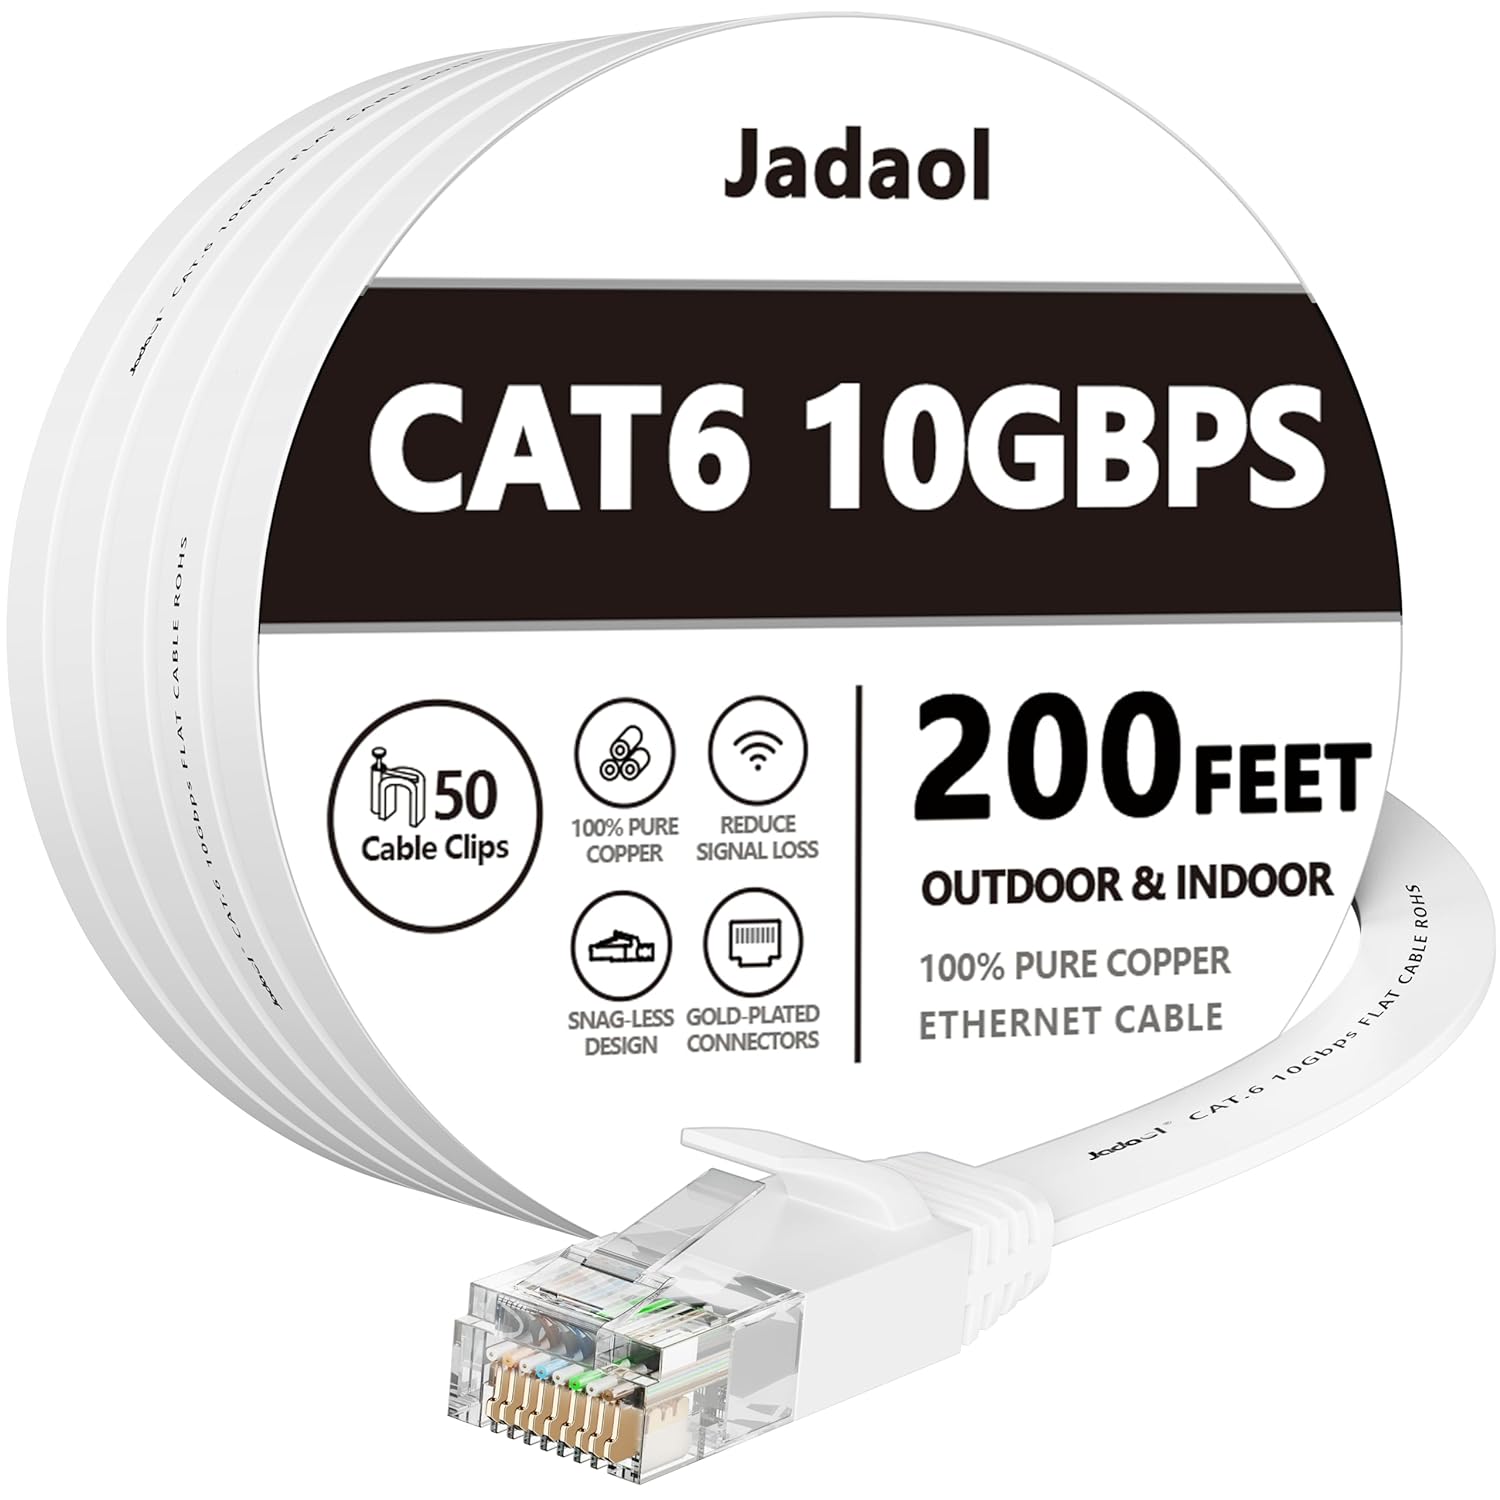
Next up is cable. I found some VERY thin flat cables and was amazed how well they feed through window sills of sliding windows with no drilling required. I did discover one BIG catch with these cables though, there are VERY difficult to work with, they tangle REALLY easily, and forget the thought of cutting them to length and putting a new connector on them. Even stripping the wire is brutal and good luck getting a crimper to put a new RJ45 end on them. The one I got was cheap $24 for 100ft.
Ok, so we got the cables run, the switch setup and we are ready to go. Now, I strongly suggest you setup the camera on the ground, in the house before mounting them. It’s just easier. I ran into a BIZARRE issue with the 811A, when I set it up initially I was lazy and had already mounted the camera (you get to learn from my error) so I pointed the app at the IP … Well after emailing Reolink, and their tech support is pretty darn good BTW (other than they are in China so a different time zone altogether), I discovered they sell two cameras under the same name. One comes with NVRs (network video recorders) and one stand alone. If you don’t scan the QR code the camera initializes as if it is with the NVR, and I had issues with smart detection and push notifications was missing. A complete restore and this time scanning the QR code resolved the issue.
So initial setup requires you to load the phone app. Plug the camera in your network, and then scan the QR code using your phone. You then give it a password for the camera and your off to the races.
There are a number of options for what to do with triggers (email, push and FTP) all of which need to be enabled, configured and setup. And this needs to be done for each camera. It’s all manual. Now there is a Windows/Mac app you can download that allows you to set the camera up from your desktop/laptop (and your going to need this app later on anyway IMHO).

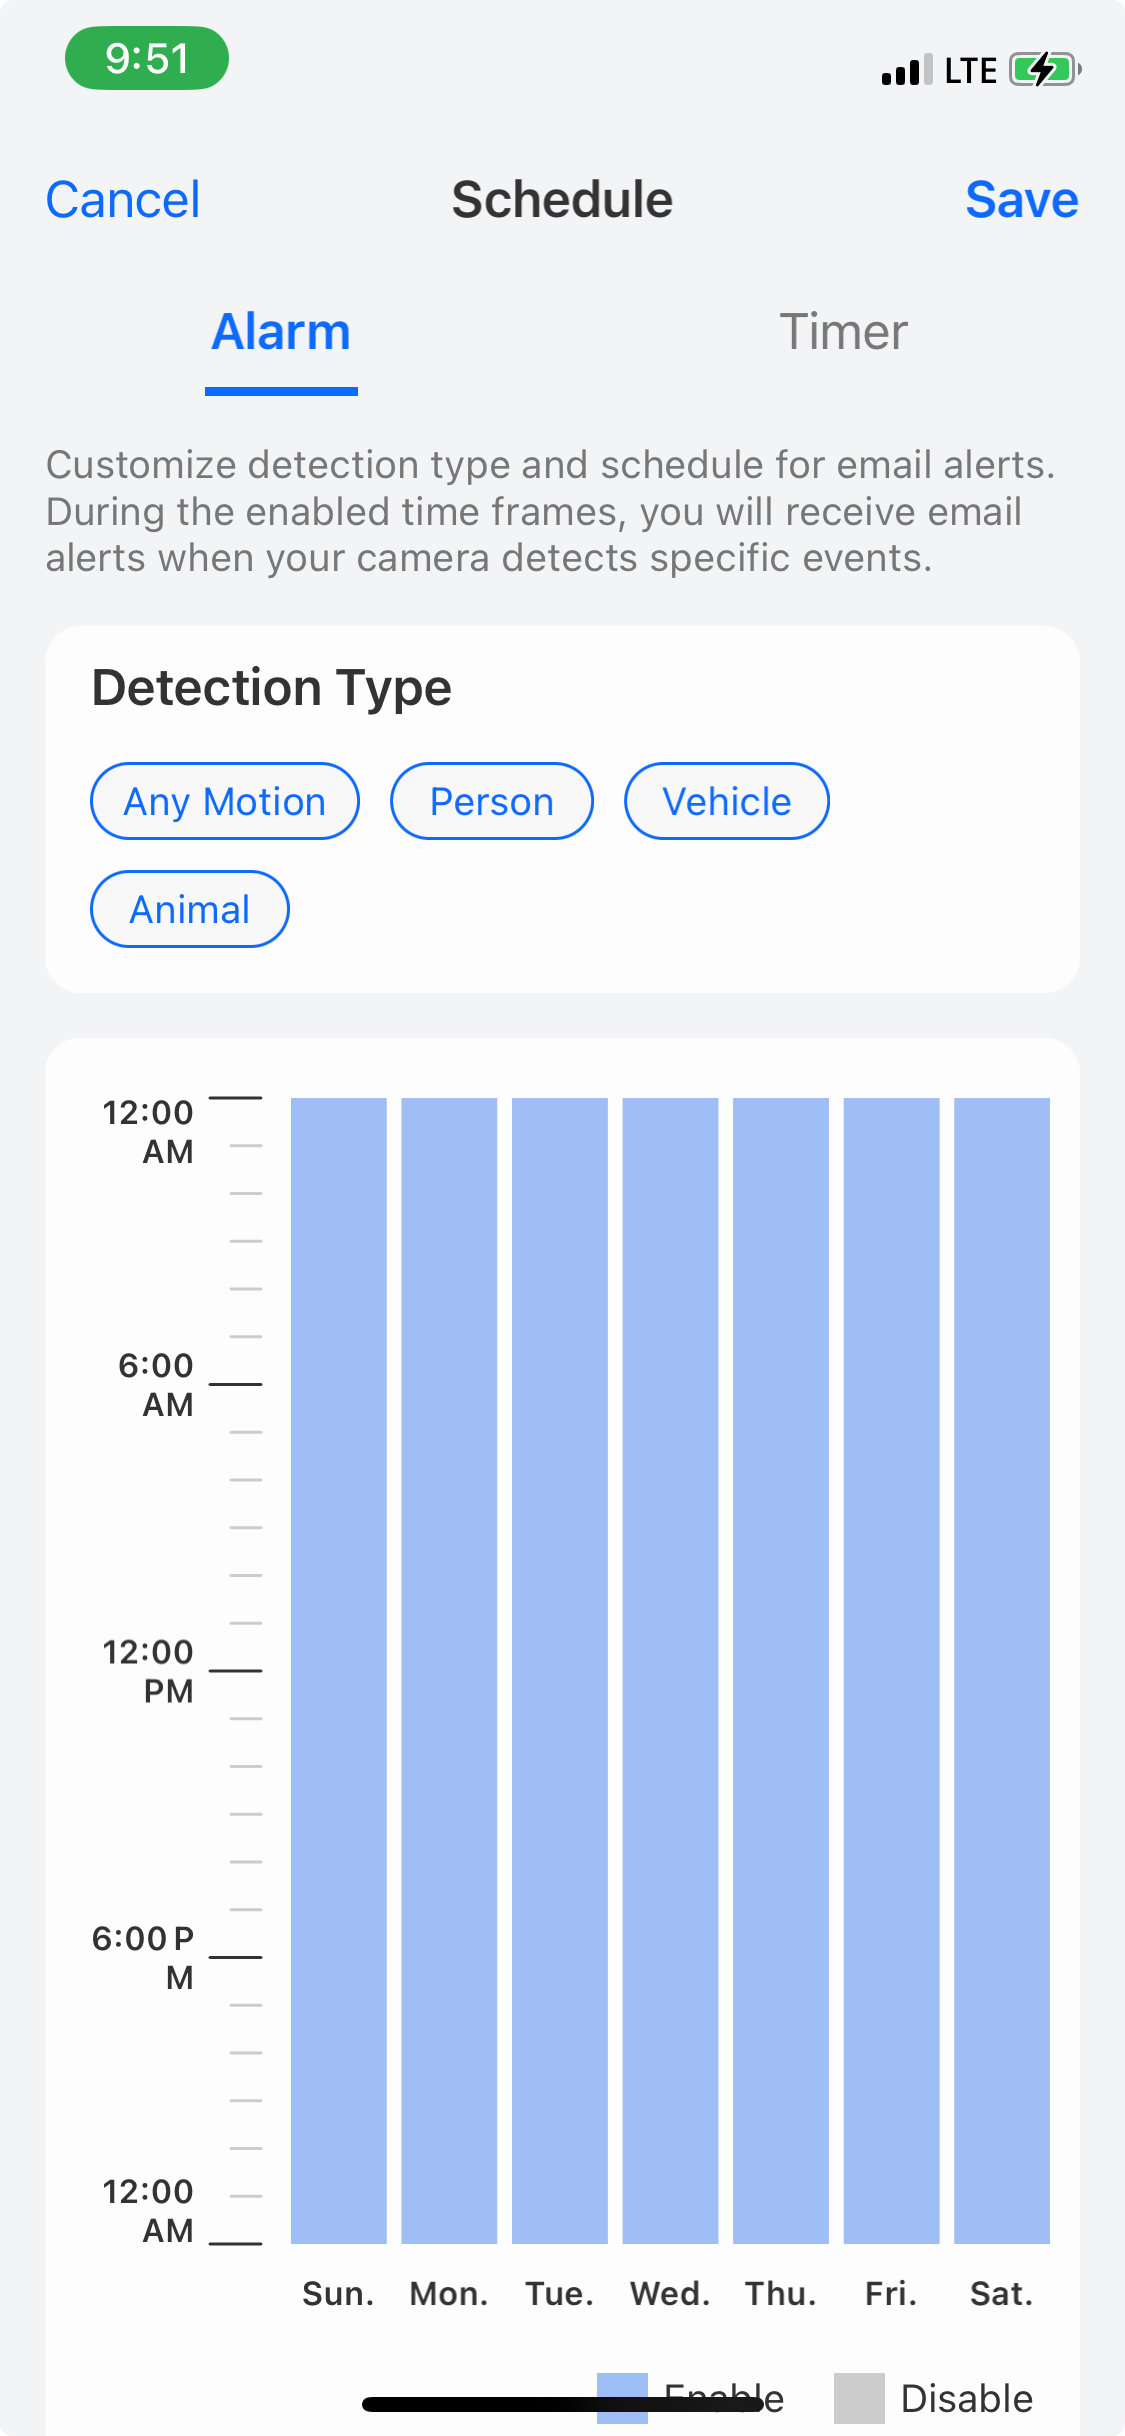
For email you need to configure an SMTP server, I couldn’t get gmail, yahoo or live to work for me, but luckily I was able to get Hotmail setup and working. Once setup you can set a schedule and set which type of events (any motion, smart detection person/animal/vehicle) you want to be emailed (same for push notifications). If there is anything missing I would have loved to be able to notify differently for different times of day. Finding out about a squirrel through the day is less interesting than the skunk in the middle of the night. Although, either way, I’m not getting outta bed … LMAO.
There’s an SD card slot, and if you don’t put one in, and none are included, you can NOT watch the captured video from the Reolink app. The SD card’s storage determines how quickly content get’s overwritten. The camera stores in H264 MP4s and records the mic as well, on the 511 this means a 2G card can store ~53mins of video before it starts over writing, and the 811 ~38mins, remembering though this isn’t constant recording, it’s even driven. So to give yourself a LOT more storage the cameras support FTP (or FTPS, not SFTP) and once a recording is done the video and picture are uploaded to the FTP server. This works VERY well BTW. You can setout a schedule for when events are recorded and can decide if you want to record any motion or only smart detects.
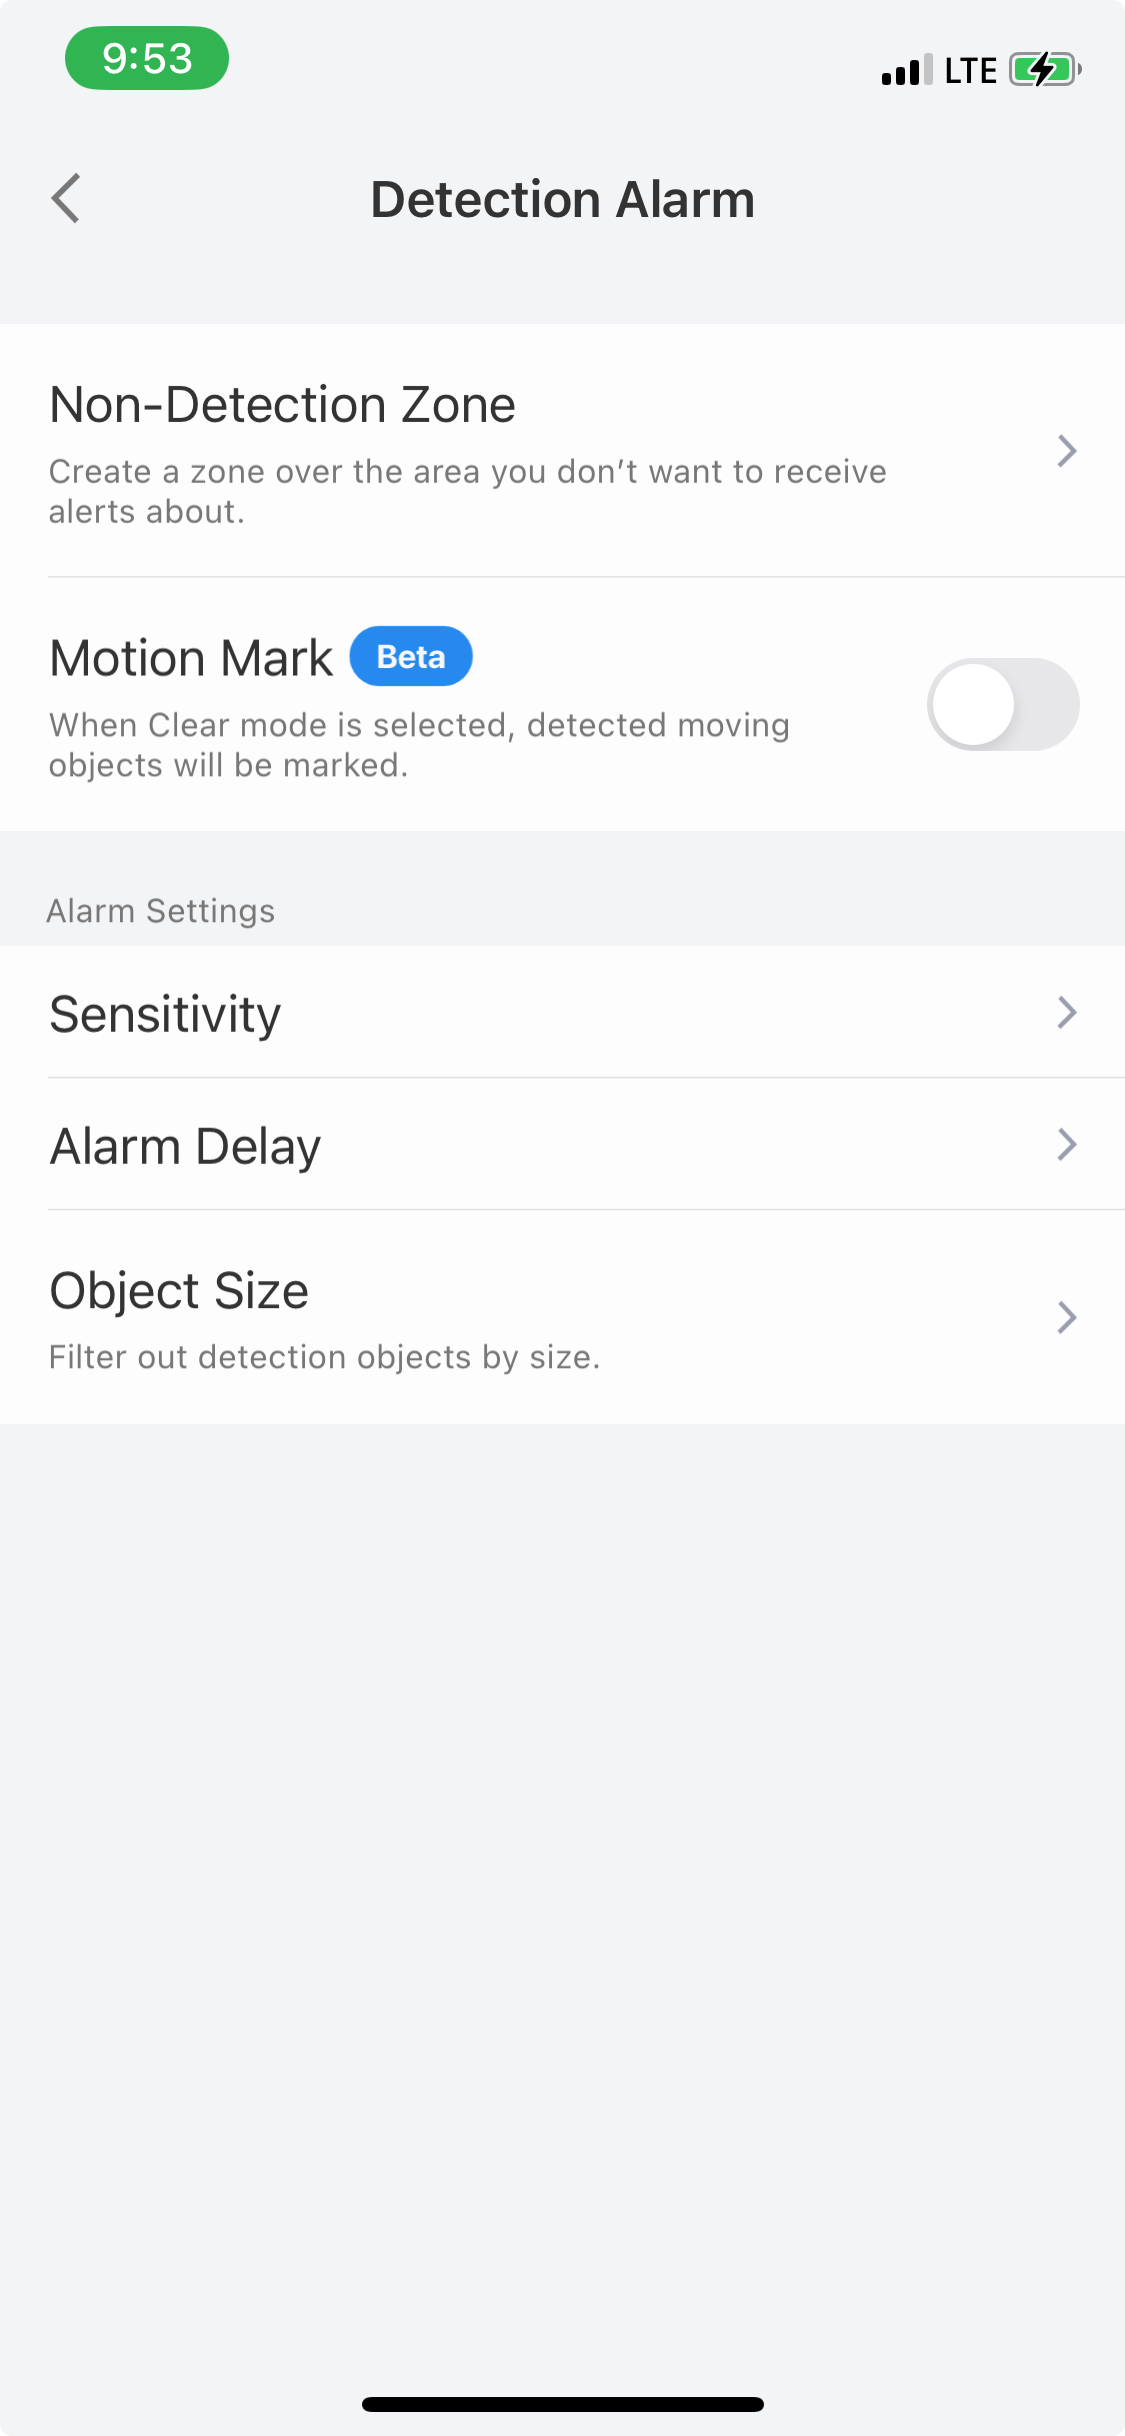
So how this camera works is it detects motion. You can control how sensitive the camera is on motion detect. You can also create a “no detection” zone to ignore motion in. Once motion is detected it is recorded. From there the camera uses “AI” in what they call smart detection to look for a person, animal or vehicle. If you dial your sensitivity down too low, the camera will see nothing, motion detection is the starting point. You can also control the size of the object (for smart detection) as well as the accuracy of the smart detection. You can use smart detection to determine if you are notified by email or push. You can turn notification on/off the schedule for both push and email. Think of smart detection as kind of filter for notifications for motion detections (or can be used that way). For the 1212 for example, if I had chosen to keep it, I would have had to disable notifications for motions and ONLY be notified for smart detections, the sensitivity on motion was that bad.
All in all, the smart detection works pretty well. Motion detection on the 510 was very good, jury is still out on the 811 (so far it’s not as bad as the 1212 but not as good as the 510 either), and the 1212’s motion detection was impossible to find a combination of seeing nothing and seeing everything. Tuning this is very important to insure you aren’t drowning in frivolous notifications, or you would miss the ones you actually want to know about.

So at this point you are 100% within the Reolink ecosystem. And for some you just might be done … But if your not and you want to see just how much more you can do with your camera … On we go. So the starting point is to download the Windows/Mac app. By default the camera’s web interface as well as industry compatibility (called ONVIF) are disabled. Using the Windows/MAC app you can enable it. The Windows/Mac APP BTW does NOT receive any form of notifications … Start the app, click on Network, Advanced, Server setup and here’s where they hide the magic

ONVIF is an industry standard that allows other NVRs like iSpy, Frigate etc and other apps to talk to your cameras. I played a little with frigate but found it VERY time consuming to get working even a little.
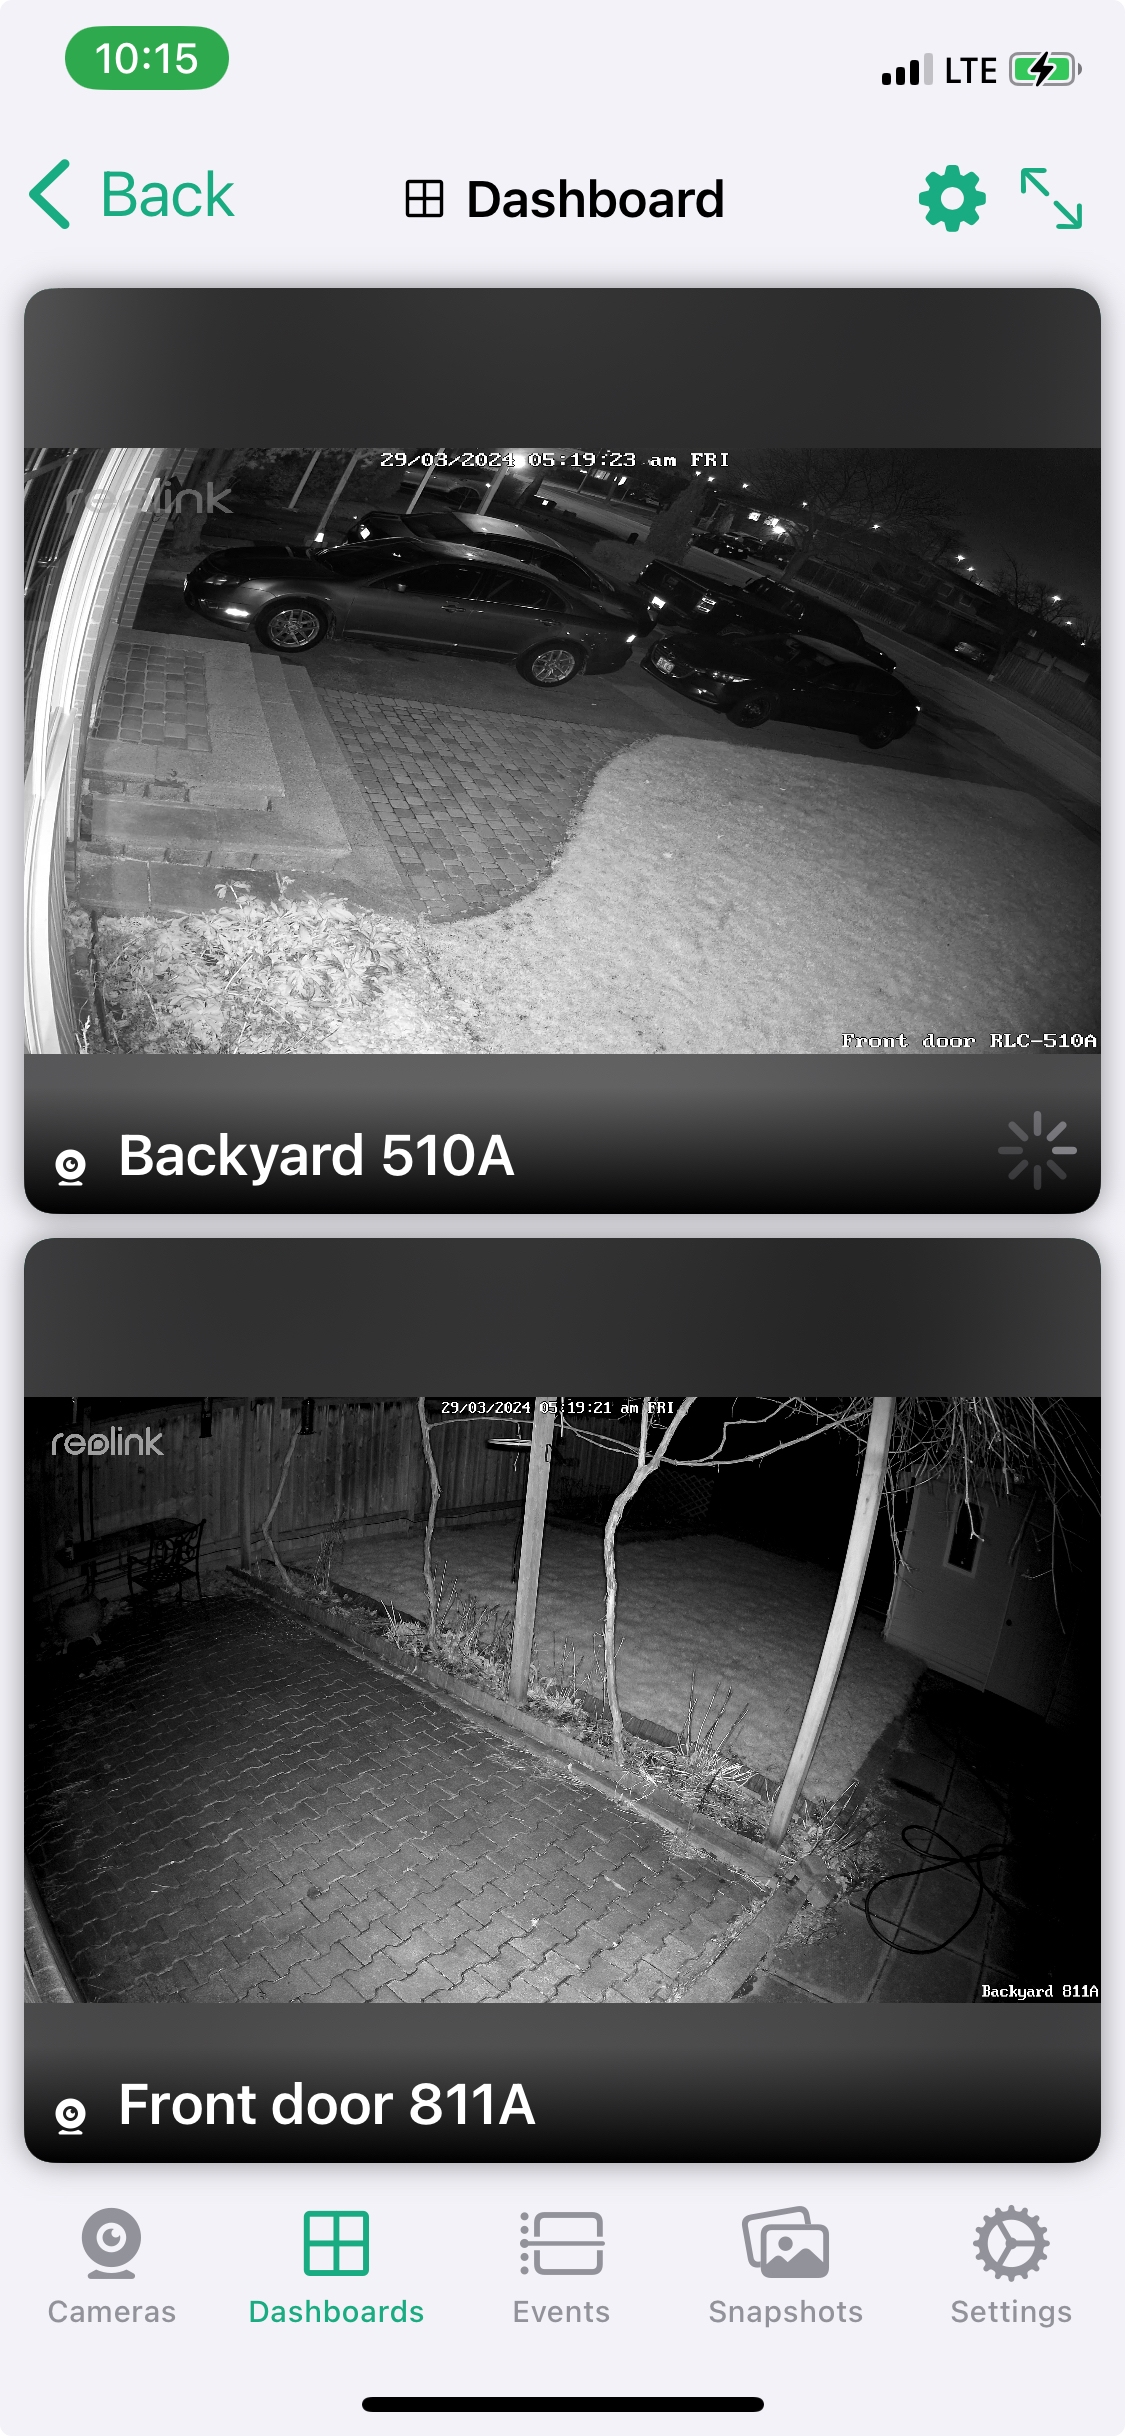
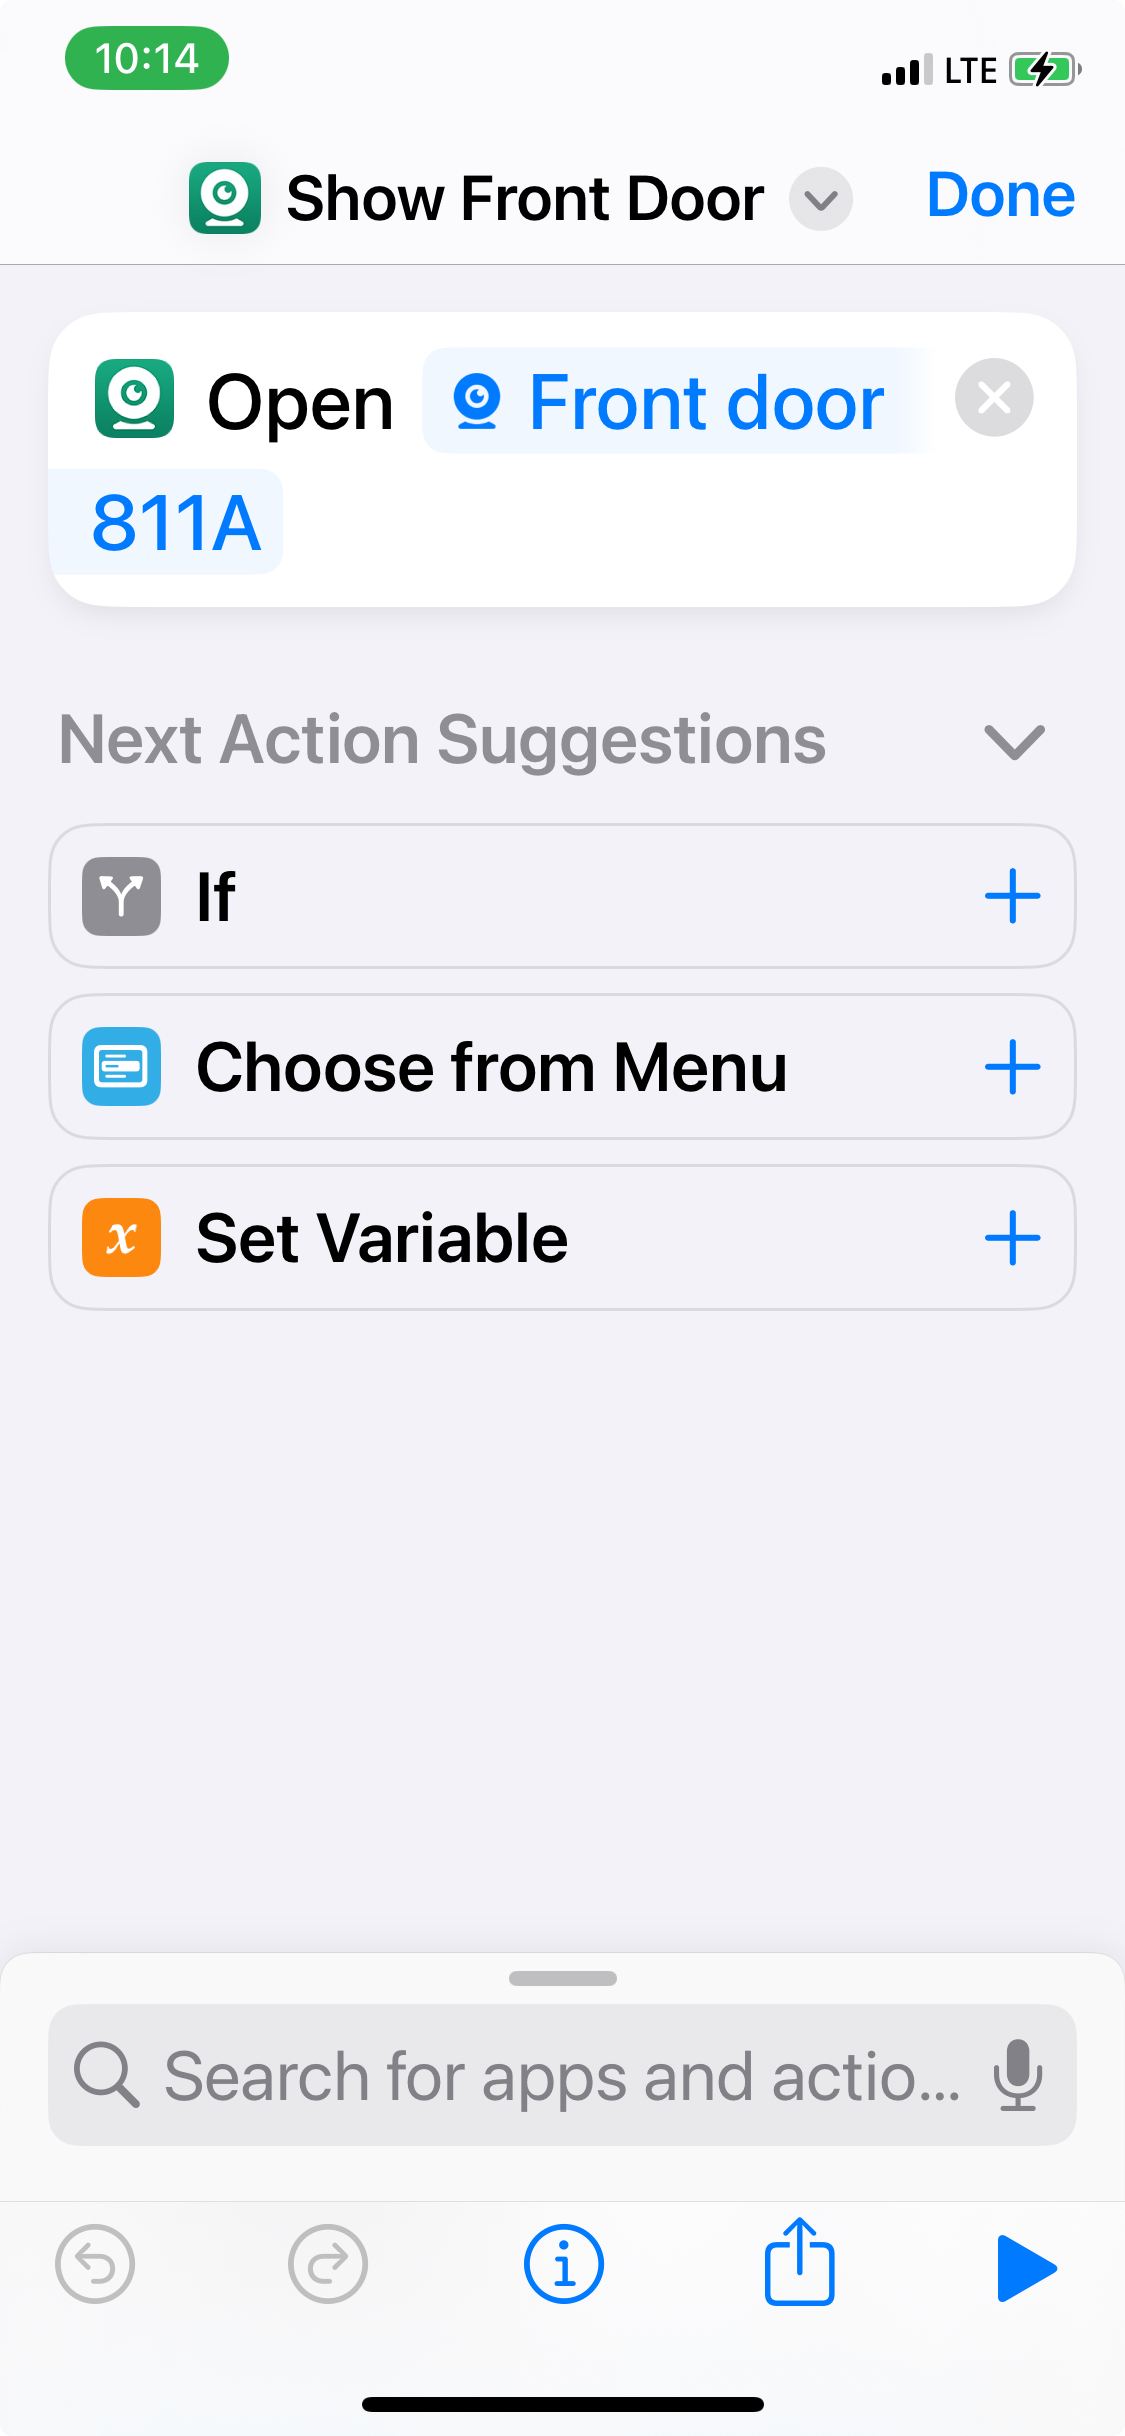
However, I found a great iPhone/iPad app called IpCams that even the free version lets you see the cameras in a dashboard. Additionally, you can use Apple shortcuts to setup SIRI to say, for example show me the front door!
Physically the 811 is a more solid mount, solid metal and you adjust it with a pair of allen keys, one on the neck and one on the stem. Amusingly the two are not the same size but they only provided one size allen key? WTF …

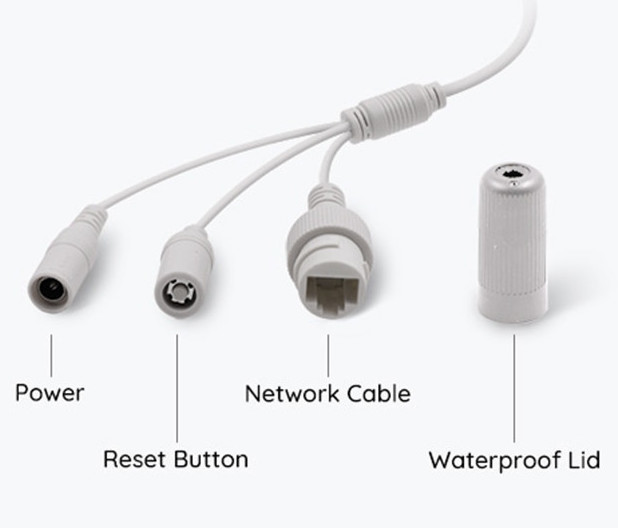
The one thing I REALLY don’t like about both cameras is they have this bizarre pigtail on the end with three wires coming out, ethernet, reset and power. They have provided a reasonably ok waterproof cover to go around the ethernet cable. I still would not want to hang this in a way water would run down the cable and straight in … No idea what they were thinking about this … They all do have covers over them, so I guess there is that?
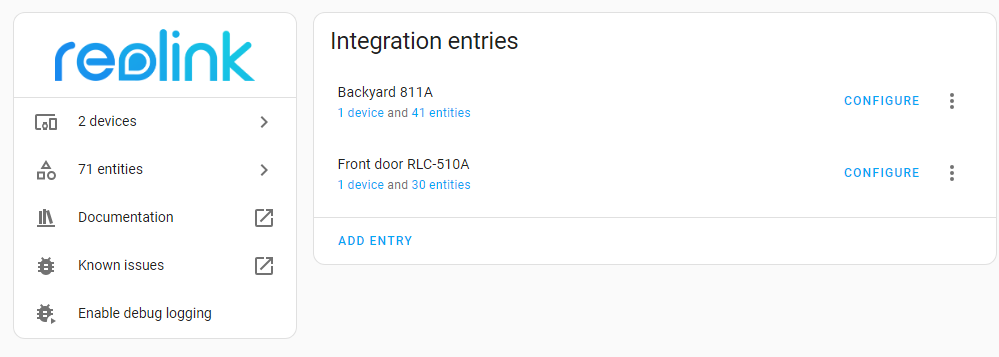
How everything plays together nicely can make a huge difference in potential! Fortunately, right off the bat there was a Reolink integration for Home Assistant and lots of potential shows up for triggering on events from the Cameras etc. You can control the light on the camera etc. I’ll update this post when I figure out useful things to do with this 😉
If your cameras were to go offline for some reason, died, stolen, cut cable whatever, you kinda wanna know … So to take care of that I added a simple ping test on Zabbix. iSpy can also notify on source disconnected as well.
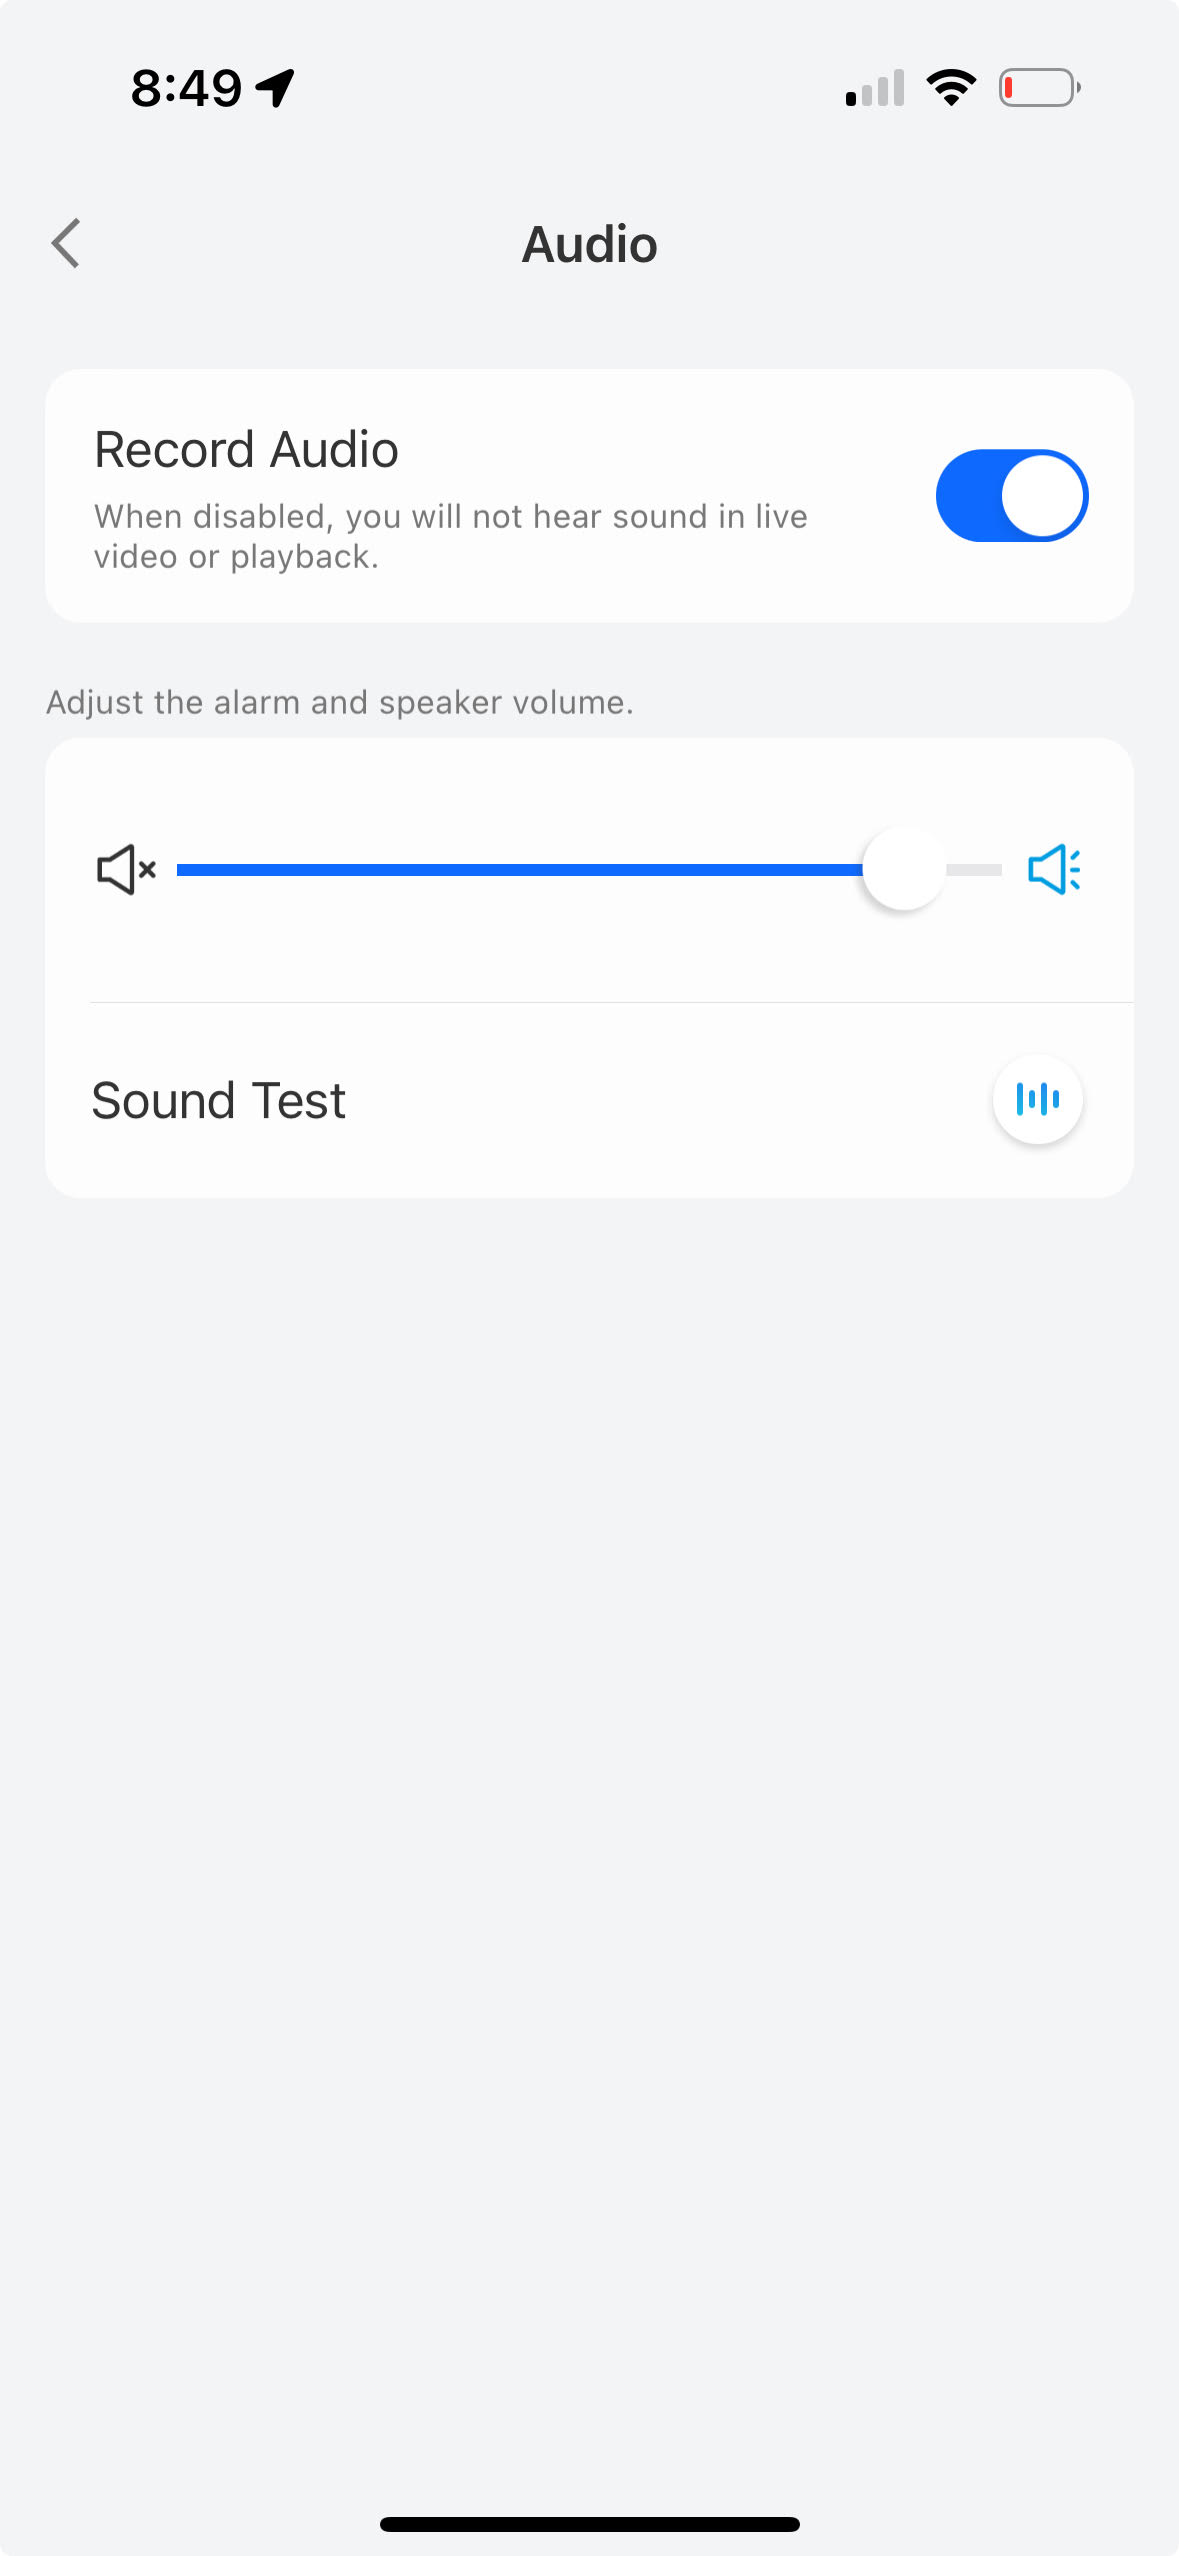
I discovered, by default, the Reolink cameras do NOT record audio. You can change this simply within the Reolink app, on a per camera basis.
And with that I have a working system. I’ll see if I can live with the 811A …
No comments yet.
About
I do these reviews for personal interest and amusement. I buy the devices out of my own pocket. If you would like to send along a donation it would be much appreciated.
![]()
-
Recent
- Amazon air quality monitor mini review
- iPhone 15 Pro review
- CodeProject AI with iSpy mini review
- Reolink 510A and 811A security cameras and all things related
- Reolink 1212A mini review
- Reolink Argus 3 Pro solar security camera
- Dekco DC4L (super mini) review
- iSpy review and camera wrap up
- Mac M1 Pro performance in Lightroom Classic
- Dekco DC8L security camera review
- Windows photos raw support
- Birding in Long Boat Key Florida!
-
Links
-
Archives
- April 2024 (4)
- March 2024 (6)
- February 2024 (2)
- January 2024 (4)
- December 2023 (1)
- November 2023 (6)
- October 2023 (1)
- September 2023 (6)
- July 2023 (1)
- June 2023 (6)
- May 2023 (2)
- April 2023 (6)
-
Categories
-
RSS
Entries RSS
Comments RSS

Leave a comment